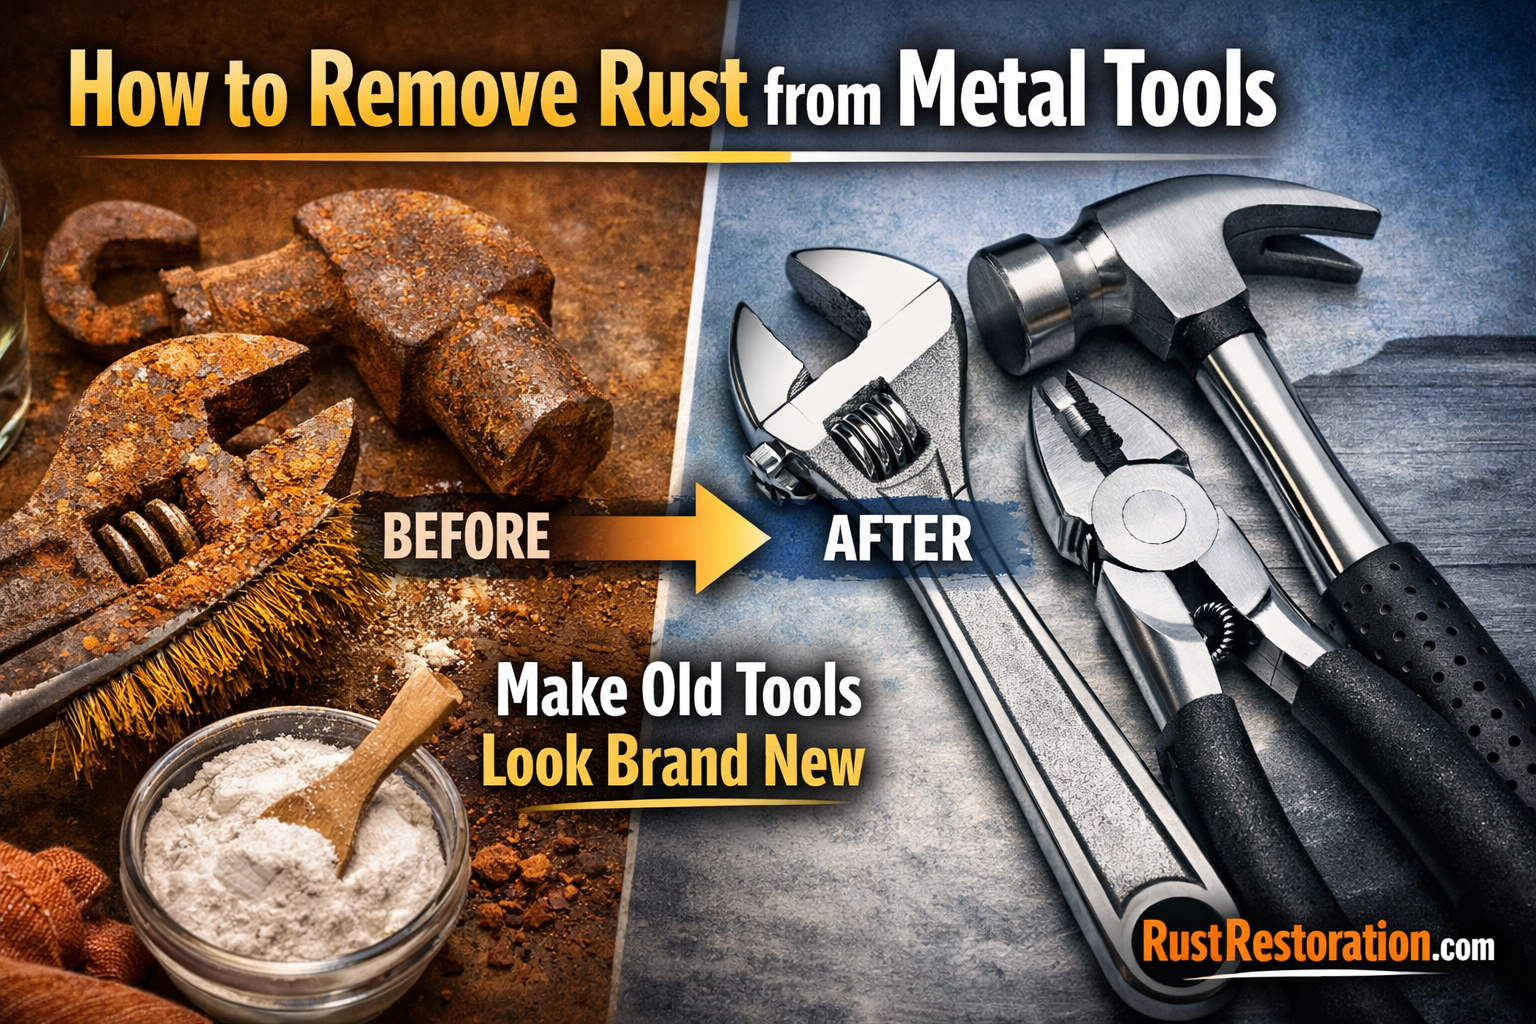
You reach for a wrench and it’s covered in orange grime. The screwdrivers in the back of your drawer look like they’ve been buried. Your files, chisels, and pliers — all of them wearing that same reddish-brown coat. It happens fast, and it makes good tools feel worthless. Here’s the thing: most of that rust comes off. Even the stuff that looks hopeless often isn’t. Learning how to remove rust from tools is one of the most useful skills you can have if you work with metal, whether you’re a professional tradesperson or just someone who wants to keep their garage kit in shape.
Why Tool Rust Is Different from Rust on Other Surfaces
Most rust removal guides treat all rust the same. Tools are a different story. You’re dealing with carbon steel, high-speed steel, cast iron, and chrome-vanadium — sometimes all in the same toolbox. Each of those metals responds differently to chemicals, abrasives, and moisture. A treatment that works beautifully on a garden trowel can pit the surface of a quality hand plane or dull a precision blade edge you spent hours honing.
The other factor is function. A rusty chair is ugly. A rusty chisel is actually dangerous — it won’t hold an edge, it can snag on material, and the rust itself will contaminate whatever you’re working on. So when you remove rust from tools, you’re not just doing cosmetic work. You’re restoring function.
Understanding what you’re dealing with before you start saves you from making things worse. Check out our guide on surface rust vs deep rust to figure out how far the oxidation has actually gone — that determines which method you should use.
The Four Methods That Actually Work
There’s no shortage of folk remedies out there. Potato halves, cola, lemon juice — some of them work to varying degrees. But if you want reliable results on actual metal tools, you need to know the four approaches that tradespeople and restorers use.
Mechanical Removal: Wire Brushing and Abrasives
Start here for moderate rust. A wire brush — hand wire brush for awkward shapes, wire wheel on a bench grinder or drill for flat surfaces — will knock off loose and mid-level rust fast. Follow up with wet/dry sandpaper starting around 120 grit, then 220, then 400 if the surface needs it. For tool blades and precision edges, stop at the coarsest grit that gets the job done and use a sharpening stone to restore the cutting edge afterwards.
Honest limitation: mechanical removal is hard work on heavily pitted surfaces, and it won’t penetrate into tight areas like screw recesses, file teeth, or the crevices in adjustable wrenches. For those spots, you need a chemical approach.
Vinegar Soak: The Low-Cost Chemical Method
White vinegar is dilute acetic acid. Soak rusted tools in it overnight and the acid eats through iron oxide without attacking the underlying metal too aggressively — as long as you don’t leave tools soaking for days. A 12-to-24-hour soak works well for most surface rust. Pull the tools, scrub with a stiff brush or steel wool, rinse thoroughly with water, and dry immediately. Skip the drying step and new rust will form within the hour.
Vinegar works especially well on tools with complex geometry — pliers, adjustable wrenches, multi-tools — where you can’t reach every surface with an abrasive. For a detailed walkthrough, see our guide on how to remove rust with vinegar.
Commercial Rust Removers: Faster, More Controllable
Products based on phosphoric acid or oxalic acid are faster and more predictable than vinegar. Evapo-Rust, Metal Rescue, and similar chelation-based removers are gentler still — they’re non-toxic, non-corrosive, and safe for most tool metals including chrome vanadium and hardened steel. You can soak an entire tray of tools overnight and come back to clean metal.
The trade-off is cost. A liter of quality rust remover runs more than a bottle of vinegar, but for a serious tool collection it’s money well spent. If you want to compare options before buying, our reviewed roundup of the best rust remover products will save you a wasted purchase.
Electrolysis: The Professional-Grade Option
This one surprises people. You can set up an electrolysis tank at home with a battery charger, washing soda (sodium carbonate), water, and a piece of scrap steel. The electrical current reverses the oxidation process and pulls rust off the metal without touching the base metal at all. It works on severely rusted tools that would take hours of mechanical work, and it gets into every crevice automatically.
It takes setup time, and you need to understand the basics before you start — the polarity matters, and you don’t want to use stainless steel as your sacrificial anode. But for heavily corroded tools, it’s genuinely impressive. The full process is covered in our electrolysis rust removal guide.
Free Rust Removal Guide
Get our complete step-by-step rust removal guide — covering every method, surface type, and product. Free to download.
Choosing the Right Method: A Quick Reference
Different tools and different rust levels call for different approaches. This table cuts through the decision-making.
| Tool Type | Rust Level | Recommended Method | Notes |
|---|---|---|---|
| Hand tools (wrenches, pliers) | Light to moderate | Vinegar soak + wire brush | Safe on chrome vanadium |
| Chisels, plane blades | Light | Wet/dry sandpaper + oil | Preserve edge geometry |
| Files, rasps | Moderate | Commercial rust remover (soak) | Avoid abrasives — they destroy teeth |
| Cast iron planes, vises | Moderate to heavy | Electrolysis or oxalic acid | Mechanical work takes too long |
| Power tool blades and bits | Light | Fine abrasive + rust remover spray | Check cutting geometry after |
| Precision measuring tools | Any | Commercial chelation remover only | Acids and abrasives risk damage |
Step-by-Step: Removing Rust from Common Hand Tools
For most people, the bulk of their rusted tools are hand tools — spanners, screwdrivers, chisels, hammers. Here’s the process that works reliably without expensive equipment.
What You’ll Need
White vinegar or a commercial rust remover, a plastic tub large enough to submerge the tools, steel wool or a stiff wire brush, coarse and medium grit wet/dry sandpaper, clean rags, and a rust-inhibiting oil like WD-40, 3-in-1, or mineral oil. That’s it.
The Process
Submerge the tools completely in your chosen solution. With vinegar, aim for 12 hours minimum — longer for heavy rust, shorter for surface spots. With a commercial chelation remover, follow the product instructions, but most work within 30 minutes for light rust and overnight for heavy buildup.
Pull the tools and scrub with steel wool or a wire brush while still wet. You’ll see the rust lifting almost immediately. For tight spots, an old toothbrush works surprisingly well. Rinse everything thoroughly under running water, then dry completely — use a rag first, then leave them somewhere warm or give them a blast with compressed air if you have it.
Apply a light coat of oil immediately. Not optional. Clean bare metal rusts faster than oxidized metal because you’ve removed the existing protective layer. A thin film of oil is what stands between clean steel and tomorrow’s rust.
One Step Most People Skip
After oiling, wipe the excess off. Leaving a heavy oil coating attracts dust and grit, which then acts as an abrasive on your tool surfaces. A light protective film is the goal, not a soaking.
What About Really Heavy Rust?
Sometimes you pull a tool out of a barn find, an estate sale box, or the back of a shed that’s been sitting untouched for 20 years. The rust isn’t just surface — it’s pitting into the metal itself, flaking, and thick enough that you can’t read the markings.
Don’t give up on it yet. Heavy rust on quality old tools is almost always recoverable. Electrolysis is your best friend here — it removes rust without removing metal, which matters when you’re dealing with pitting. After the electrolysis bath, you’ll often find the tool surface is rougher than you expected, but the metal is sound. A pass with progressive grits of sandpaper and finishing oil can bring an 80-year-old hand plane back to working condition.
For tools where the geometry matters — cutting tools especially — you need to be realistic that deep pitting may affect the edge or the flat sole. But structural tools like hammers, vises, and wrenches can sustain significant pitting and still function perfectly. Our guide on removing heavy rust and severe oxidation goes deeper on this.
Keeping Tools Rust-Free After You’ve Done the Work
Rust doesn’t take a break. The moment you’ve cleaned a tool and removed the protective oil layer, oxidation starts again. Keeping tools rust-free is less about a single treatment and more about consistent habits.
Store tools in a dry environment — a dehumidifier in your workshop makes a real difference if you’re in a humid climate. Keep them oiled, particularly through seasons where the workshop temperature swings and condensation forms on metal surfaces. Silica gel packets in drawers and toolboxes help absorb ambient moisture.
For long-term storage, wipe tools with a film of paste wax or a dedicated tool wax product. It’s more durable than oil alone and won’t attract grit. Some restorers swear by Renaissance Wax for quality hand tools; others use straight paste wax from the hardware store. Both work.
The counterintuitive point: using your tools regularly is one of the best things you can do for them. Handled tools stay clean from use and get oiled naturally from your hands. The tools that rust worst are the ones that never get touched.
The Rust Restoration Handbook
The complete professional reference for rust removal and metal restoration. Every technique, product, and process — in one handbook.
Clean Tools Are Working Tools
Rust is not a death sentence for metal tools. With the right method matched to the right situation — vinegar for moderate rust on hand tools, commercial removers for precision gear, electrolysis for serious restoration work — you can bring back tools that look finished. And once you’ve put the work in, a basic maintenance routine keeps them in that condition.
The bigger picture matters here too. Rust doesn’t stop unless you stop it — and on tools that see real use, that means building prevention into your habits, not just your cleaning schedule. If you want to understand the full scope of rust control across different metals and situations, the ultimate guide to rust removal and metal restoration covers it all in one place.
Good tools last a lifetime. Treat them that way.